Note: Dependabot auto-triage rules are currently in beta and are subject to change.
About custom auto-triage rules
You can create your own Dependabot auto-triage rules based on alert metadata. You can choose to auto-dismiss alerts indefinitely, or snooze alerts until a patch becomes available, and you can specify which alerts you want Dependabot to open pull requests for.
Since any rules that you create apply to both future and current alerts, you can also use auto-triage rules to manage your Dependabot alerts in bulk.
Repository administrators can create custom auto-triage rules for their public repositories.
Organization owners and security managers can set custom auto-triage rules at the organization-level, and then choose if a rule is enforced or enabled across all public repositories in the organization.
- Enforced: If an organization-level rule is "enforced", repository administrators cannot edit, disable, or delete the rule.
- Enabled: If an organization-level rule is "enabled", repository administrators can still disable the rule for their repository.
Note: In the event that an organization-level rule and a repository-level rule specify conflicting behaviors, the action set out by the organization-level rule takes precedence. Dismissal rules always act before rules which trigger Dependabot pull requests.
You can create rules to target alerts using the following metadata:
- Dependency scope (
devDependencyorruntime) - Package name
- CWE
- Severity
- Patch availability
- Manifest path (for repository-level rules only)
- Ecosystem
Understanding how custom auto-triage rules and Dependabot security updates interact
You can use custom auto-triage rules to tailor which alerts you want Dependabot to open pull requests for. However, for an "open a pull request" rule to take effect, you must ensure that Dependabot security updates are disabled for the repository (or repositories) that the rule should apply to.
When Dependabot security updates are enabled for a repository, Dependabot will automatically try to open pull requests to resolve every open Dependabot alert that has an available patch. If you prefer to customize this behavior using a rule, you must leave Dependabot security updates disabled.
For more information about enabling or disabling Dependabot security updates for a repository, see "配置 Dependabot 安全更新."
Adding custom auto-triage rules to your repository
Note: During the public beta, you can create up to 10 custom auto-triage rules for a repository.
-
在 GitHub.com 上,导航到存储库的主页。
-
在存储库名称下,单击 “设置”。 如果看不到“设置”选项卡,请选择“”下拉菜单,然后单击“设置”********。

-
在边栏的“安全性”部分中,单击“ 代码安全性和分析”。
-
在“Dependabot alerts”下,单击 关闭“Dependabot 规则”。
-
Click New rule.
-
在“规则名称”下,描述此规则要执行的操作。
-
Under "State", use the dropdown menu to select whether the rule should be enabled or disabled for the repository.
-
在“目标警报”下,选择要用于筛选警报的元数据。
-
Under "Rules", select the action you want to take on alerts that match the metadata:
- Select Dismiss alerts to auto-dismiss alerts that match the metadata. You can choose to dismiss alerts indefinitely or until a patch is available.
- Select Open a pull request to resolve this alert if you want Dependabot to suggest changes to resolve alerts that match the targeted metadata. Note that this option is unavailable if you have already selected the option to dismiss alerts indefinitely, or if Dependabot security updates are enabled in your repository settings.
-
单击“创建规则”。

Adding custom auto-triage rules to your organization
Note: During the public beta, you can create up to 25 custom auto-triage rules for your organization.
-
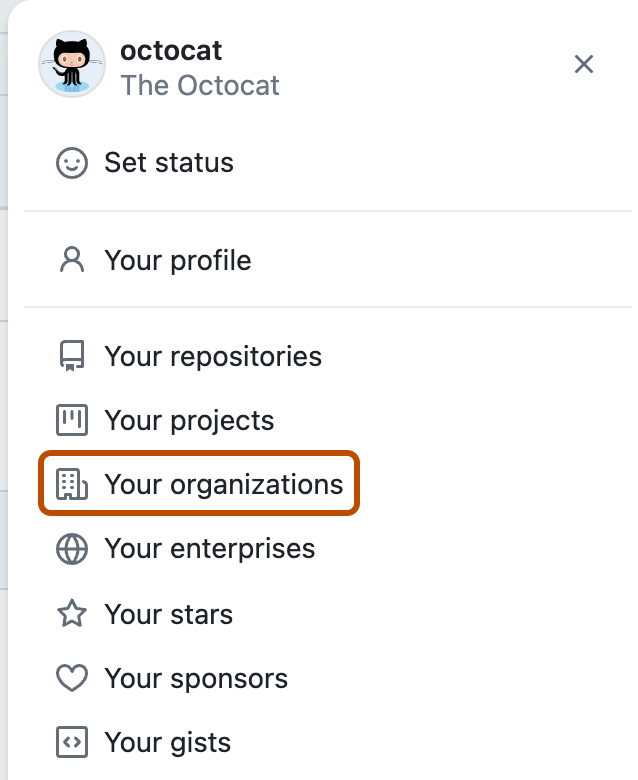
在 GitHub.com 的右上角,选择个人资料照片,然后单击 “你的组织”****。
-
在组织旁边,单击“设置”。
-
在边栏的“安全性”部分中,单击“ 代码安全性和分析”。
-
在“Dependabot”下的“Dependabot alerts”下,单击 关闭“Dependabot 规则”。
-
Click New rule.
-
在“规则名称”下,描述此规则要执行的操作。
-
Under "State", use the dropdown menu to choose how you want to apply the rule.
- Choose Enforced to prevent repository administrators from being able to edit, disable, or delete the rule in the repository's settings page.
- Choose Enabled to set the rule on-by-default for all repositories, while also allowing repository administrators to disable the rule in the repository's settings page.
- Alternatively, you can choose to set the rule as Disabled, which cannot be overridden at the repository level. Disabled rules are hidden for all repositories.
-
在“目标警报”下,选择要用于筛选警报的元数据。
-
Under "Rules", select the action you want to take on alerts that match the metadata:
- Select Dismiss alerts to auto-dismiss alerts that match the metadata. You can choose to dismiss alerts indefinitely, or until a patch is available.
- Select Open a pull request to resolve this alert if you want Dependabot to suggest changes to resolve alerts that match the metadata. Note that this option is unavailable if you have selected the option to dismiss the alerts indefinitely.
-
单击“创建规则”。

Editing or deleting custom auto-triage rules for your repository
-
在 GitHub.com 上,导航到存储库的主页。
-
在存储库名称下,单击 “设置”。 如果看不到“设置”选项卡,请选择“”下拉菜单,然后单击“设置”********。
-
在边栏的“安全性”部分中,单击“ 代码安全性和分析”。
-
在“Dependabot alerts”下,单击 关闭“Dependabot 规则”。
-
Under "Repository rules", to the right of the rule that you want to edit or delete, click .
-
要编辑规则,请对相应的字段进行任何更改,然后单击“保存更改”。****
-
要删除规则,请单击“危险区域”下的“删除规则”。****
-
在“确定要删除此规则吗?” 对话框中,查看信息,然后单击“删除规则”。****
Editing or deleting custom auto-triage rules for your organization
-
在 GitHub.com 的右上角,选择个人资料照片,然后单击 “你的组织”****。
-
在组织旁边,单击“设置”。
-
在边栏的“安全性”部分中,单击“ 代码安全性和分析”。
-
在“Dependabot”下的“Dependabot alerts”下,单击 关闭“Dependabot 规则”。
-
Under "Organization rules", to the right of the rule that you want to edit or delete, click .
-
要编辑规则,请对相应的字段进行任何更改,然后单击“保存更改”。****
-
要删除规则,请单击“危险区域”下的“删除规则”。****
-
在“确定要删除此规则吗?” 对话框中,查看信息,然后单击“删除规则”。****