Introduction
You can create rulesets to control how users can interact with selected branches and tags in a repository. When you create a ruleset, you can allow certain users to bypass the rules in the ruleset. This can be users with certain permissions, specific teams, or GitHub Apps. For more information on rulesets, see "About rulesets."
To create a ruleset, complete the following procedures:
- Creating a branch or tag ruleset
- Granting bypass permissions for your ruleset
- Choosing which branches or tags to target
- Selecting branch or tag protections
Creating a branch or tag ruleset
-
On GitHub.com, navigate to the main page of the repository.
-
Under your repository name, click Settings. If you cannot see the "Settings" tab, select the dropdown menu, then click Settings.

-
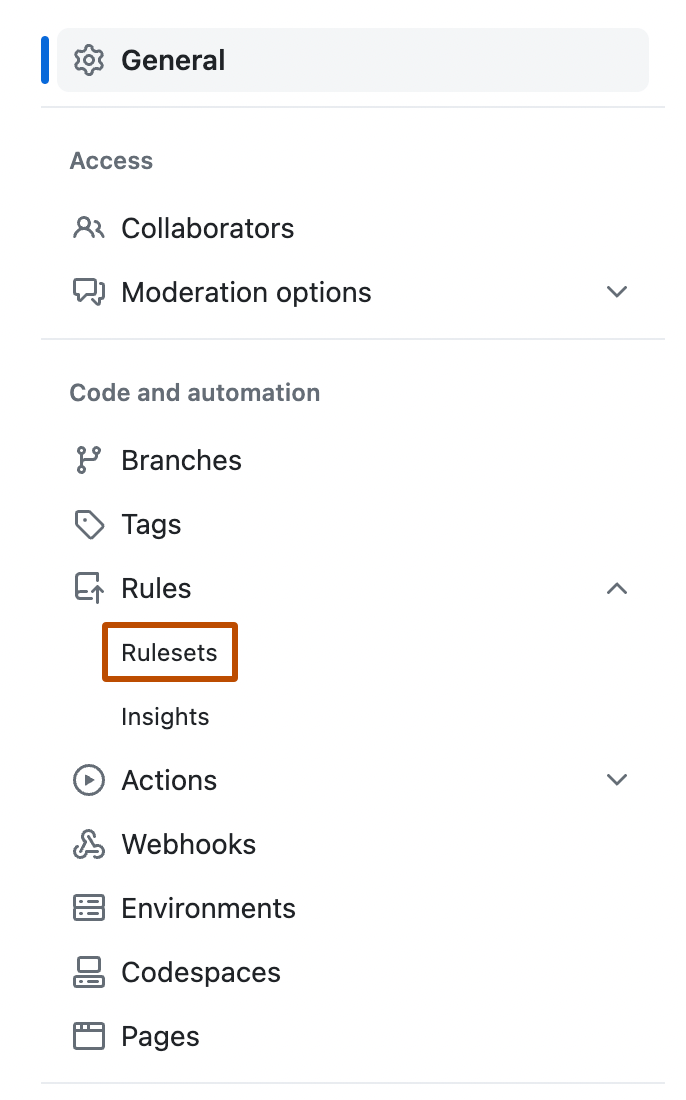
In the left sidebar, under "Code and automation," click Rules, then click Rulesets.
-
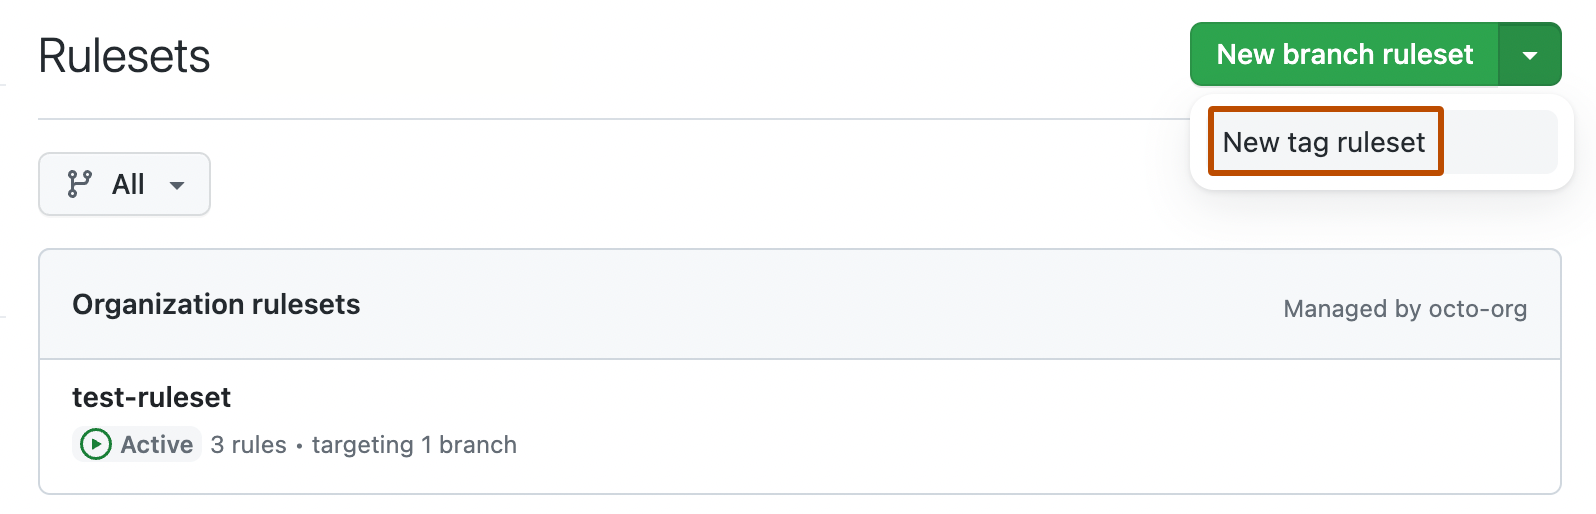
You can create a ruleset targeting branches, or a ruleset targeting tags.
-
To create a ruleset targeting branches, click New branch ruleset.
-
To create a ruleset targeting tags, select , then click New tag ruleset.
-
-
In the "General" section, type a name for the ruleset, then select Disabled and click one of the following enforcement statuses:
- Active: your ruleset will be enforced upon creation.
- Disabled: your ruleset will not be enforced.


Granting bypass permissions for your ruleset
You can grant certain roles, teams, or apps bypass permissions for your ruleset. The following are eligible for bypass access:
- Repository admins or organization owners
- The maintain or write role, or custom repository roles based on the write role
- Teams
- GitHub Apps
-
To grant bypass permissions for the ruleset, in the "Bypass list" section, click Add bypass.
-
In the "Add bypass" modal dialog that appears, search for the role, team, or app you would like to grant bypass permissions, then select the role, team, or app from the "Suggestions" section and click Add Selected.
-
Optionally, to grant bypass to an actor without allowing them to push directly to a repository, select Always , then click For pull requests only.
The selected actor is now required to open a pull request to make changes to a repository, creating a clear digital trail with their changes. The actor can then choose to bypass any branch protections and merge that pull request.
Choosing which branches or tags to target
To target branches or tags, in the "Target branches" or "Target tags" section, select Add a target, then select how you want to include or exclude branches or tags. You can use fnmatch syntax to include or exclude branches or tags based on a pattern. For more information, see "Using fnmatch syntax."
You can add multiple targeting criteria to the same ruleset. For example, you could include the default branch, include any branches matching the pattern *feature*, and then specifically exclude a branch matching the pattern not-a-feature.
Selecting branch or tag protections
In the "Branch protections" or "Tag protections" section, select the rules you want to include in the ruleset. When you select a rule, you may be able to enter additional settings for the rule. For more information on the rules, see "Available rules for rulesets."
Notes: If you select Require status checks before merging, in the "Additional settings" section:
- You can enter the name of each status check you would like to require. To finish adding the status check as a requirement, you must click .
- If you select Require branches to be up to date before merging, you must define a check for the protection to take effect.
To finish creating your ruleset, click Create. If the enforcement status of the ruleset is set to "Active", the ruleset takes effect immediately.
Using fnmatch syntax
You can use fnmatch syntax to define patterns to target the names of branches and tags when you create a ruleset.
You can use the * wildcard to match any string of characters. Because GitHub uses the File::FNM_PATHNAME flag for the File.fnmatch syntax, the * wildcard does not match directory separators (/). For example, qa/* will match all branches beginning with qa/ and containing a single slash, but will not match qa/foo/bar. You can include any number of slashes after qa with qa/**/*, which would match, for example, qa/foo/bar/foobar/hello-world. You can also extend the qa string with qa**/**/* to make the rule more inclusive.
For more information about syntax options, see the fnmatch documentation.
Note: Although GitHub supports File::FNM_PATHNAME in fnmatch syntax, File::FNM_EXTGLOB is not supported.